 Hi, gals,
You may remember one of the items on my autumn bucket list was to make a fall garland for my mantel. And if you read my bucket list update post earlier this week, you know I did get that garland completed. If not, please read it here. I also promised to share the easy steps I used to create my garland. So, I bring you my Did it Myself (DIM) fall garland, without further adieu…
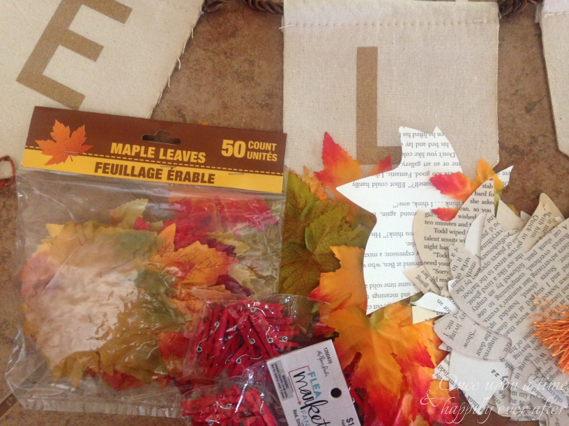
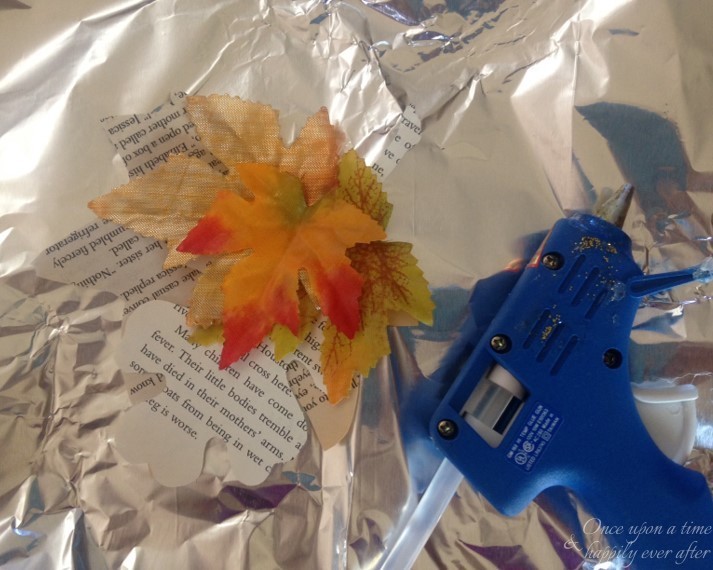
Here are the supplies I used.
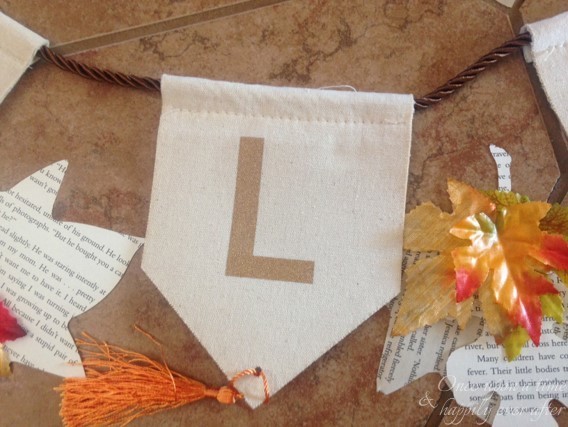
Purchased this garland at Target for $3.

Loved the tassels and the linen-like fabric. And the sparkly gold letters, of course.
The packages of leaves were $1 each from Dollar Tree. Some of the leaves were cut from metallic fabric, others were glittery and some were just plain. So a nice variety of textures.
I used the Ellison die cutter at Jefferson high school to cut leaves from the pages of old, withdrawn paperback books.
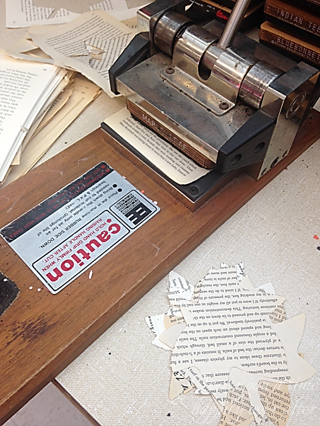
Having access to an Ellison is one of the perks of being a librarian sub. However, I could have traced leaf shapes onto the book pages, too.
Next, I tried to space the letters out evenly along the garland cord.
I played around with pairings of leaves before deciding to use two of the book page leaves with a combination of the silky fabric leaves.
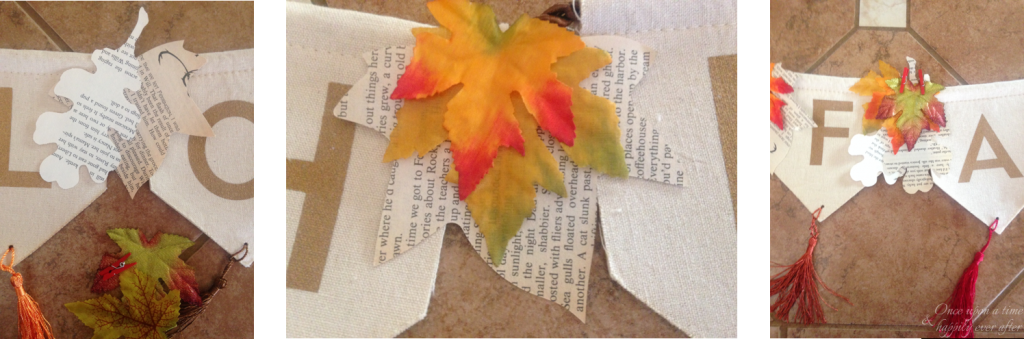
Then I made little bundles of these leaves for the spaces between each letter. I bought tiny, baby red clothes pins at Hobby Lobby, $1.99 for 20 and pinned the leaves to the cord.
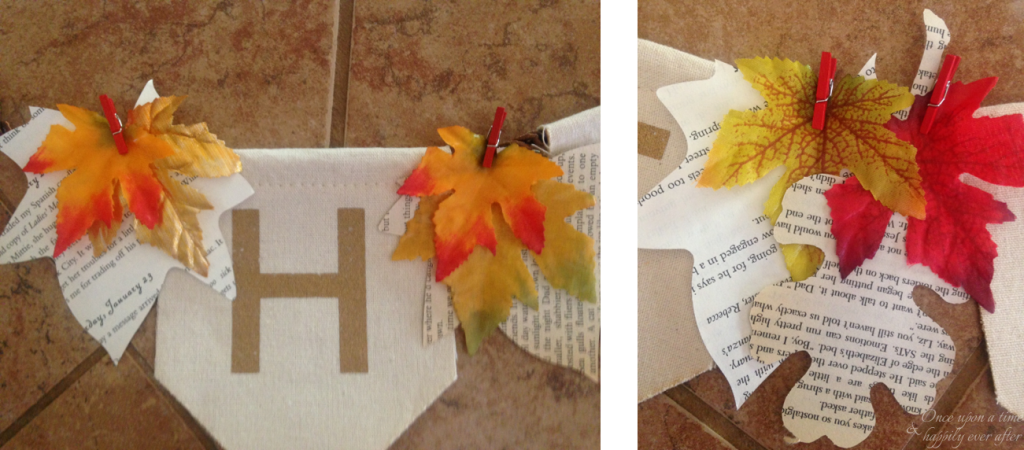
When I was happy with the spacing and the bundles of leaves between each letter, it was time to finalize things with my trusty glue gun.
I like the mix of textures and colors.
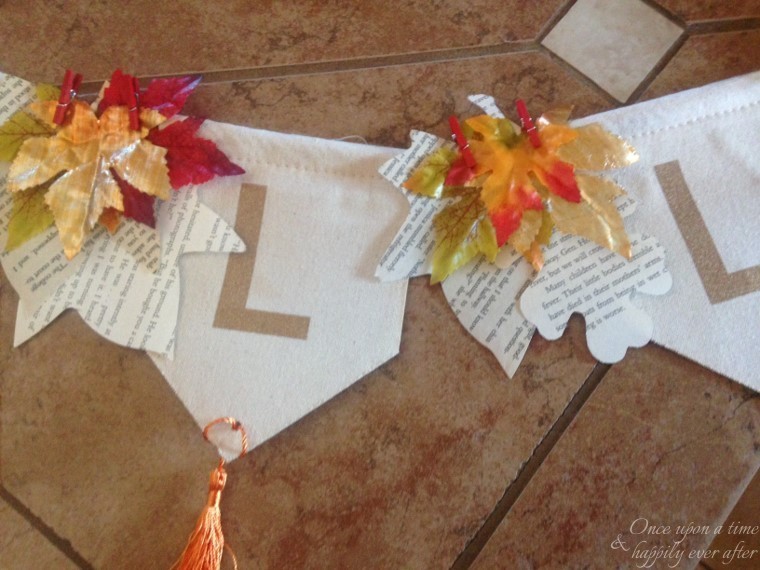
Tried to create a good balance between color, texture and shine.
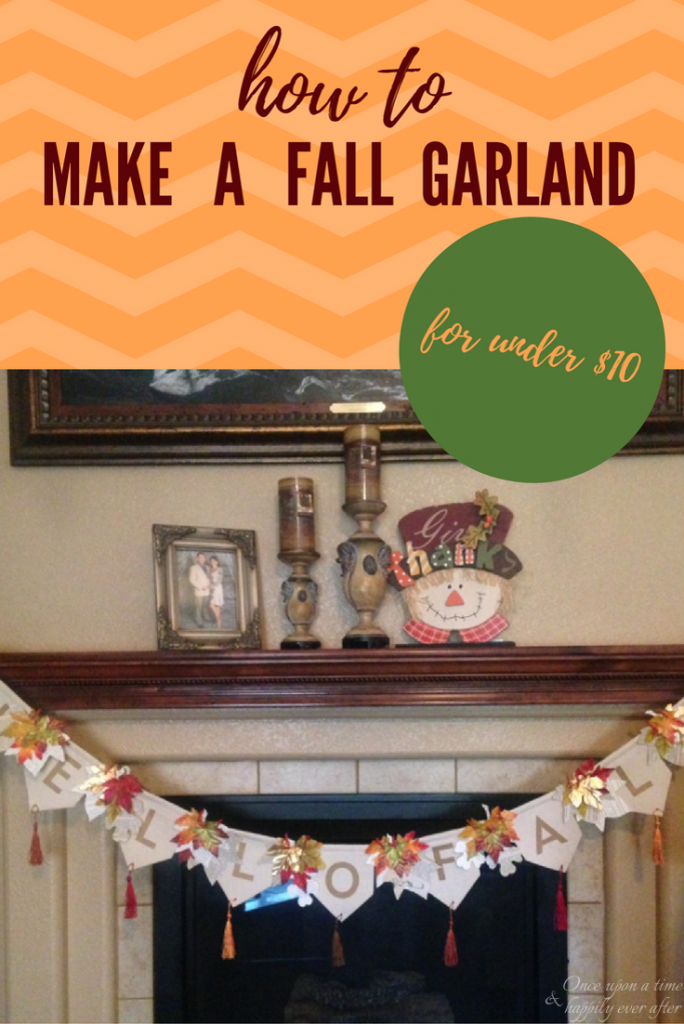
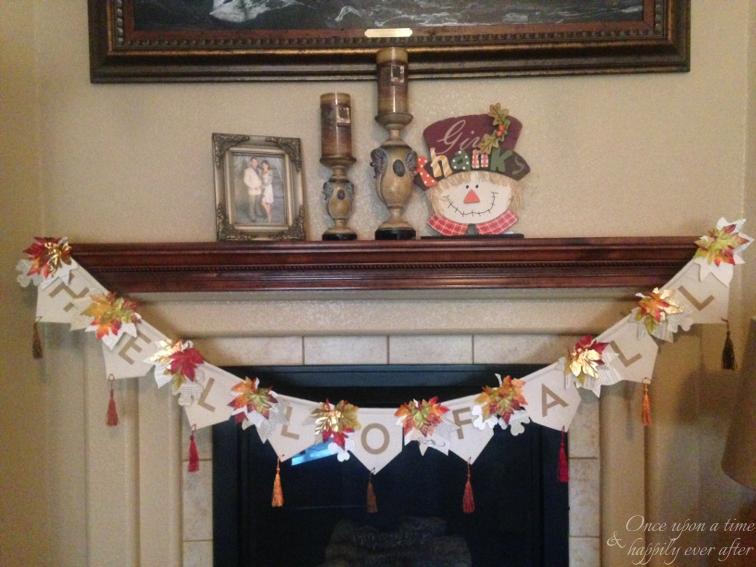
Finally the moment of truth. Hanging the garland on the mantel.
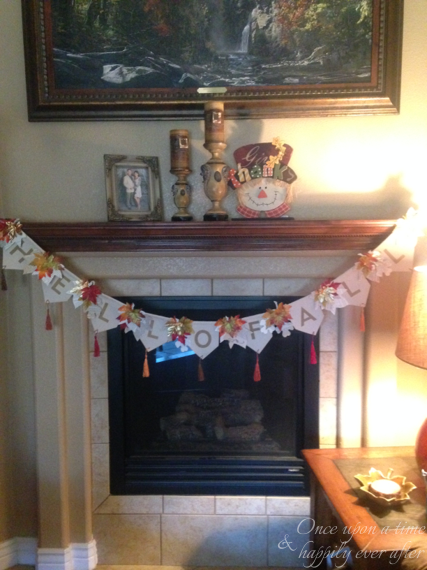
So, what do you think? Not too shabby for a $10 Did it Myself garland…$3.00 for the garland, 2 packages of leaves for $1.00 a piece, 1 package of red clothes pins at $1.99 for 2o pins = $6.99 + tax.
I always get nervous when, when…actually, I could just stop there…. I always get nervous. Period. But what I was going to say was, I always get nervous when I do little projects like this. And my painting. My scrapbooking. Even my blog writing. Started to say it was fun making my garland. And it was, but I get so worried that things won’t turn out well. That pressure kind of qualifies the fun.
However, I am already planning my Christmas garland. So I hope you will hang around long enough to see how that one turns out. And then there’s Valentine’s Day and Easter… just don’t go anywhere, ok? I would miss you.
It feels good to be back at blogging. A little scary. And naturally, I am a little nervous. Always.
Thanks for being here with me and holding my hand. I am linking up with my sweet, supportive friend Carrie at Curly, Crafty Mom. Hope you will run by there now to check out all of her goodness and craftiness.
Hugs and kisses,


Andrea@WellnessNotes says
The garland turned out great, Leslie! And it looks wonderful on the mantel!
But I totally know what you mean about getting nervous! I am not crafty, and even the smallest project that qualifies as “crafty” makes me nervous. But I’m very glad that you already planning one for Christmas!
Karla Cook says
What fun! It turned out cute!
Whitney a la mode says
I love the addition of the book pages! How perfect for you!
This turned out great! Love the book page leaves! I wish I had access to a die cutter like that! So cool!
This turned out so cute! I really love gold right now, so I am digging the gold lettering on the garland you found at Target. And, my favorite part is how you personalized it with leaves from a die cutter at school with book pages! How perfect is that for a librarian? I also love the contrast of those leaves against the other colorful leaves. SO pretty! And, ya added some tassels! Yes, yes!!! Crafting makes me a little nervous sometimes, too… !!
Carrie
curlycraftymom.com
Jill says
Your garland is so cute and festive! I love your book page leaves!
Jill
Doused In Pink